|
Author: Skip
Parts:
 Rotors - Sebro Slotted (OE Zimmerman or , gas-slotted and cross-drilled also available) Rotors - Sebro Slotted (OE Zimmerman or , gas-slotted and cross-drilled also available)
 Pads - (944.351.951.02 E Pagid or Jurid, Mintex and KFP Magnum also available) Pads - (944.351.951.02 E Pagid or Jurid, Mintex and KFP Magnum also available)
 Pad sensor - 944.612.211.02 (83-86), 944.612.212.00 (87+) Pad sensor - 944.612.211.02 (83-86), 944.612.212.00 (87+)
Procedure:
- Lift car safely using jack stands
- Remove wheels
- Check brake fluid level. If too full, remove some using general purpose syringe or turkey baster. (you will be pushing back the pistons within the calipers which can cause the brake fluid reservoir to overflow)
- Using a disk brake compression tool, or similar (C-clamp), compress the caliper to release the grip of the pads to the rotor.
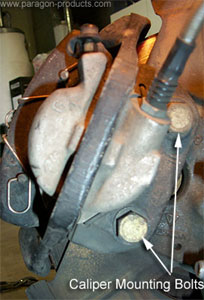
- Remove the caliper from the steering knuckle by removing the two large bolts on the rear side:
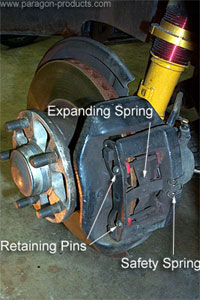
- Remove the locking wire from the pad retaining pins. Remove the pad retaining pins and the anti-rattle spring. Remove the pads from the caliper:
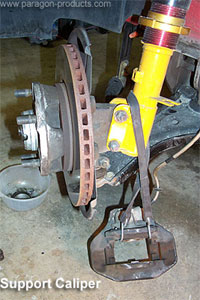
- Hang the caliper from the strut such that there is no pressure on the brake line:
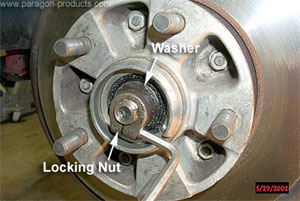
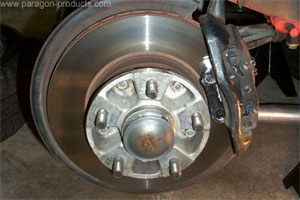
- Remove the rotor - remove the bearing dust cap, then remove the axle pinch nut:
- Separate the hub from the rotor:
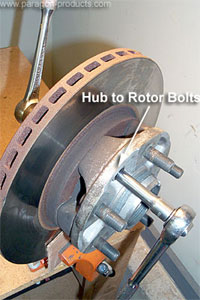
- Attach new rotor to hub.
- Now would be a good time to repack or even replace wheel bearings:
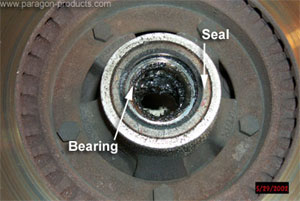
- Clean and regrease the axle:
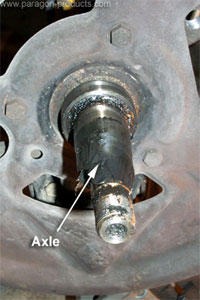
- Replace the hub and rotor assembly to the axle. Tighten the bearing pinch nut until there is a slight drag on the hub when spun, then turn back one-quarter turn. Reinstall the bearing grease cap:

- Replace the pads and reassemble the brake calipers. Use anti-squeal compound on any metal-to-metal contact areas to reduce the chance of squealing (chatter). Reinstall the caliper to the steering knuckle:
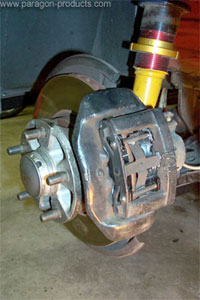
- Bleed the brakes to ensure the pads are seated properly against the rotor. Brake bleeding should be accomplished at regular intervals to flush out any intrusive water or other contaminants:
Tools: Various metric wrenches and sockets, C-clamp or similar, brake fluid brake, bleeding apparatus such as the Motive Power Bleeder.
Credits: Skip Grehan
|


 Rotors -
  Pads - (
 Pad sensor -


